A hospital here sent out a call for 5,000 sewn fabric masks not long ago, and I thought, “I could help out!” I wanted to make a difference, and to try to help our healthcare workers during this Covid-19 pandemic.
It’s been years since I last used my trusty old sewing machine. It was a college graduation present from my parents. I’d used it to make a guitar case in the past, a cat carrier (I carried my cat on my back as I rode my bike to the vet in graduate school), and also a few baby quilts over the years. I decided to see if the machine still worked, and if I could remember how to use it! 🙂
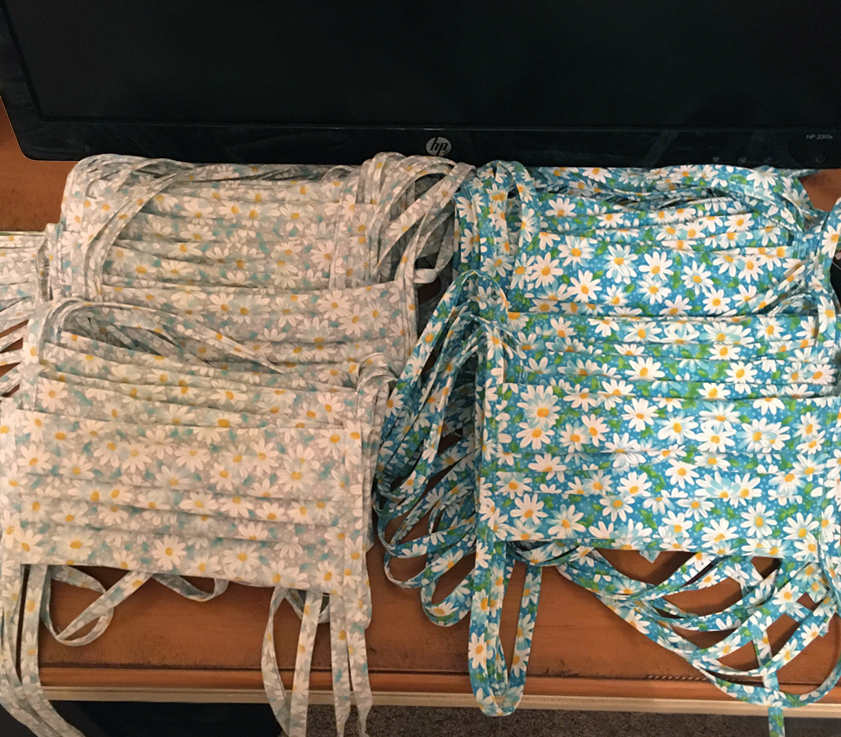
It turns out, it’s kind of like riding a bike. After spending a few minutes reviewing the instruction booklet, I gathered up the supplies needed and set to work. The first batch of 37, above, ended up being donated to a Physical Therapy clinic here in town. They needed them ASAP, after the CDC put forth their recommendations that everyone wear cloth masks in public.
Hospitals can use sewn fabric masks over N95 masks. That way the cloth mask can protect the N95 mask. Instead of throwing away the valuable N95 mask, the fabric mask can be used once, removed, sterilized, and then re-used. A number of hospitals and health organizations across the country need these masks. To discover a few places in your area that might need masks, please visit the following link:
https://www.deaconess.com/How-to-make-a-Face-Mask/Mask-Donations
This blog post will show you how to make a mask with ties. The supplies you’ll need include:
1. 100% cotton fabric (wash it in warm water and dry it first, in order to shrink the fabric)
2. Pipe cleaners (if you want to be able to tighten the mask down around the nose)
3. Featherweight interfacing (if it’s available–or else you could use an extra layer or two of cotton cloth)
4. 8 x 14″ template
5. Thread
6. Rotary cutting tool (scissors can be used, but the rotary cutter will make the job go much faster)
7. Large self-healing mat
8. Iron
9. Sewing machine
First, I cut out 8″ x 14″ rectangles of fabric, using my template as a guide. With the fabric folded in half, as it arrived from the fabric store, place it on a work table. Make sure the fold side is on the left, and the selvage edges are positioned at the top and bottom edge of the table. Place your template vertically, with its left edge along the fold line of the fabric. Fold the fabric over the template. If the fabric is 44″ wide, it will fold exactly in thirds over the template. Since the fabric is doubled, you will be able to cut out six masks at once.
Place the template on top of the folded fabric, and place a large, self-healing mat underneath all of the cloth, in order to protect your work table. Using a rotary cutter, cut out six pieces of fabric at once.
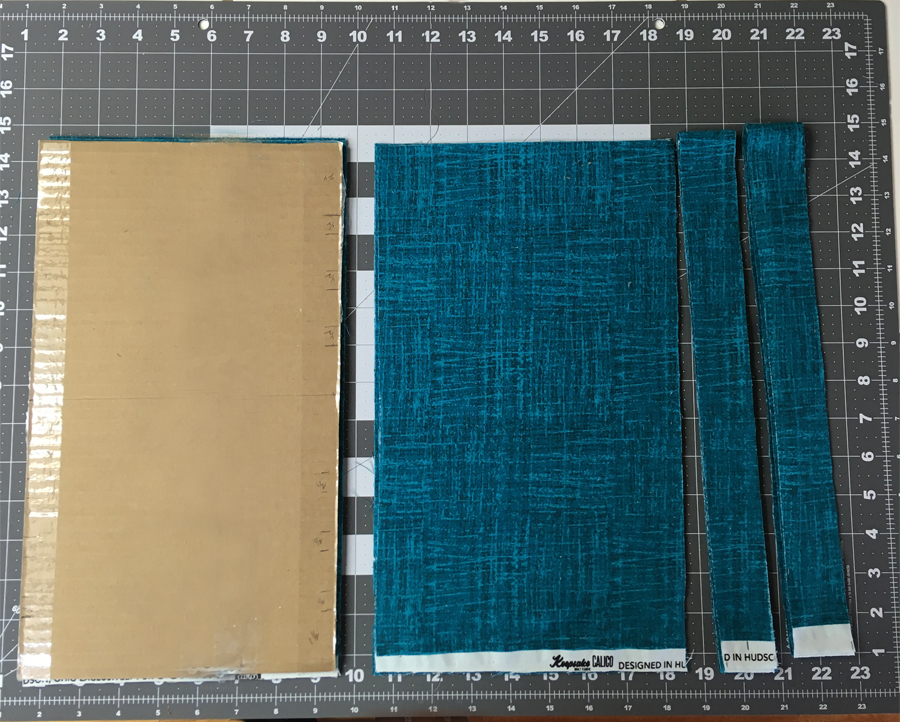
For two yards of fabric it’s possible to cut 18 masks and then 36 ties (but you’ll only need to make 18 cuts for the ties, because the fabric is doubled). Each tie will be 1 1/2″ wide. I cut from one selvage edge to the other, so I don’t have to worry about finishing the ends of the ties.
I also cut 8 x 7 pieces of featherweight interfacing. One piece goes inside each mask.
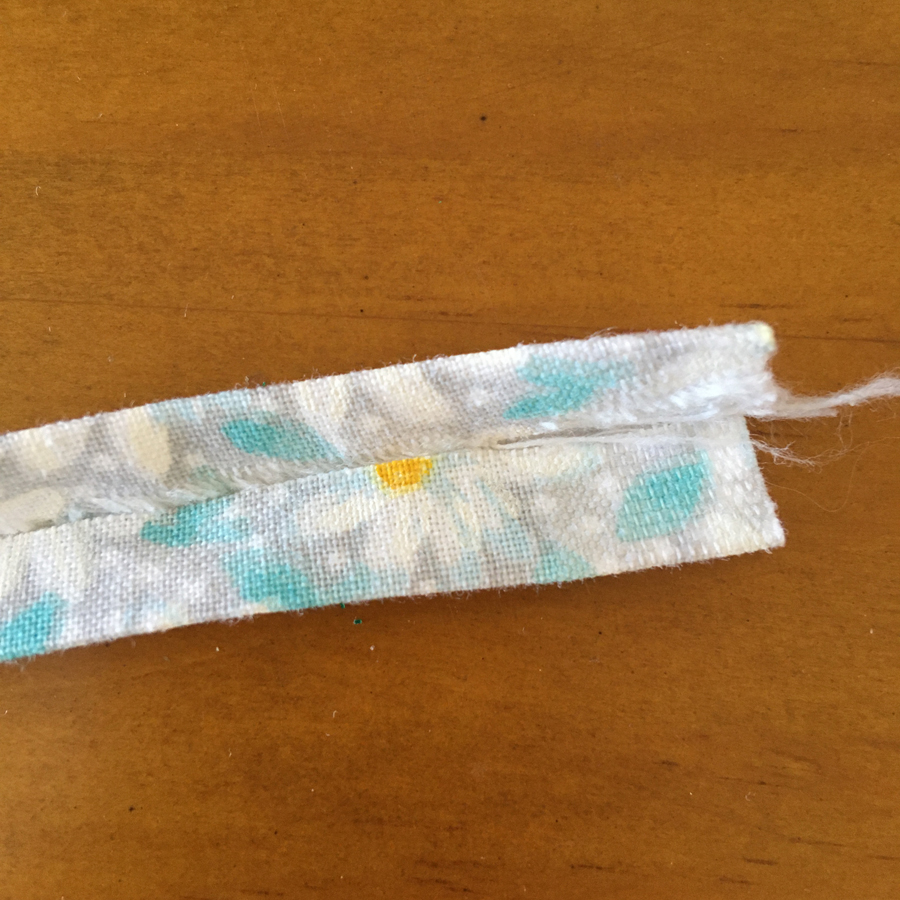
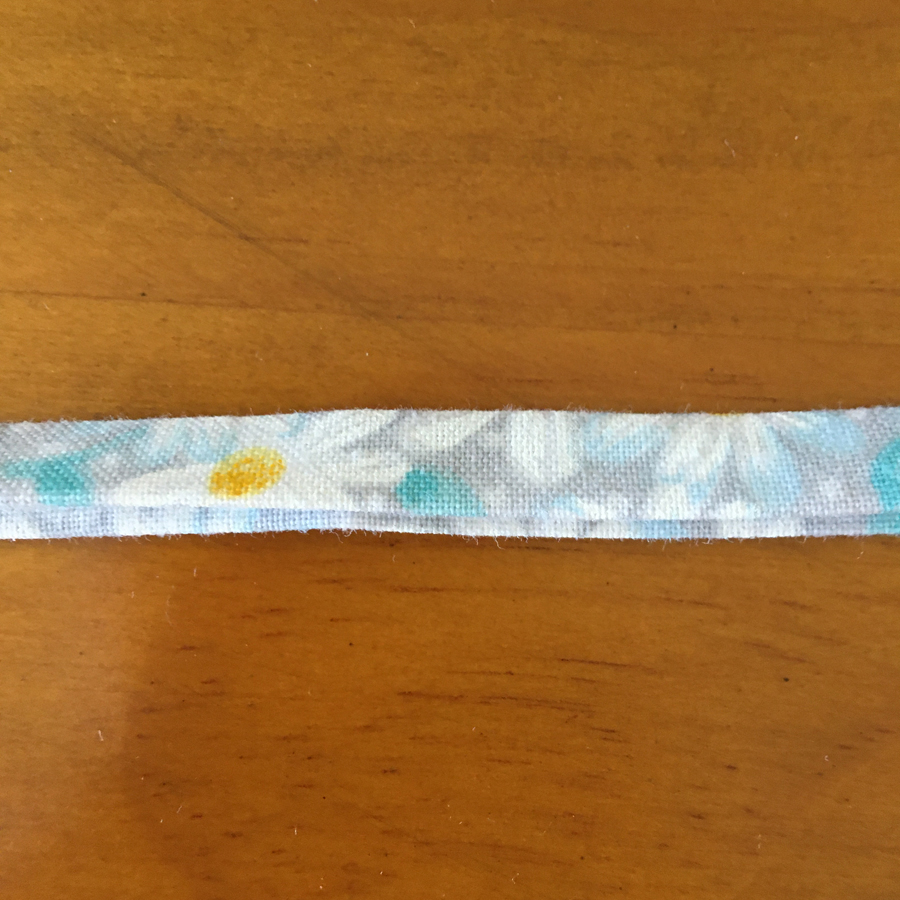
Then I fold the ties as shown in the first pic, and press them, all the way to the end. Then I fold them in half, and press them, so it looks like the second pic.
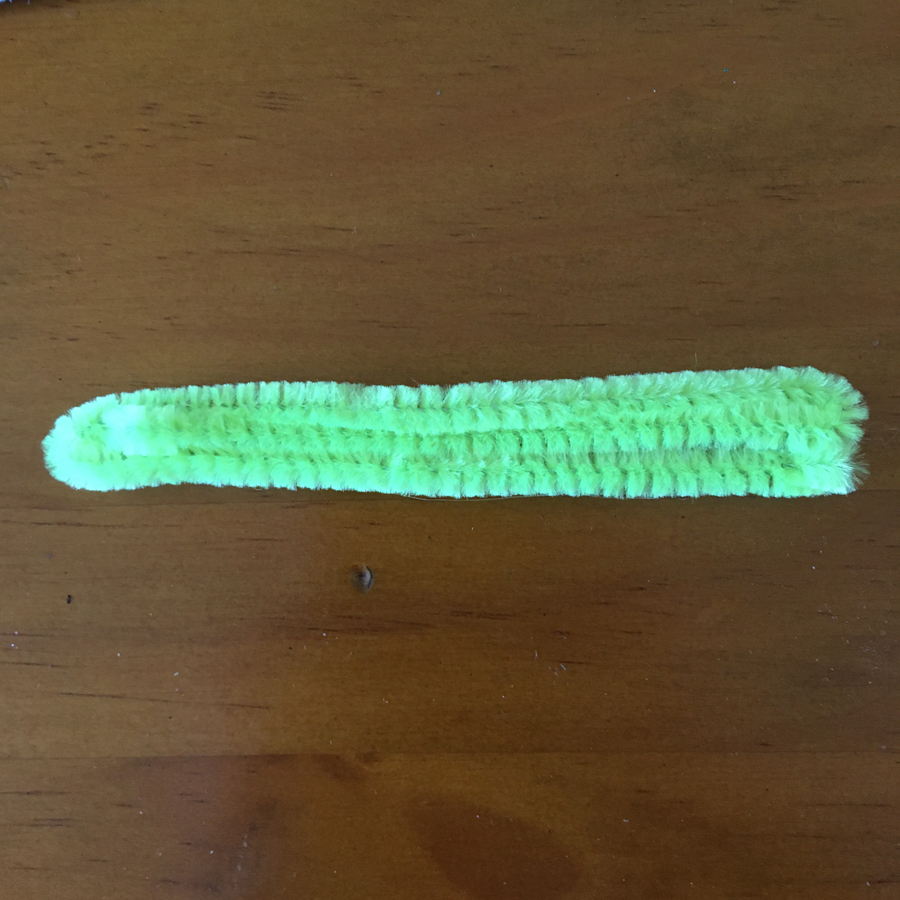
The green pipe cleaner is folded in thirds, with the tips of the two ends bent back so the sharp ends won’t poke thru the fabric.
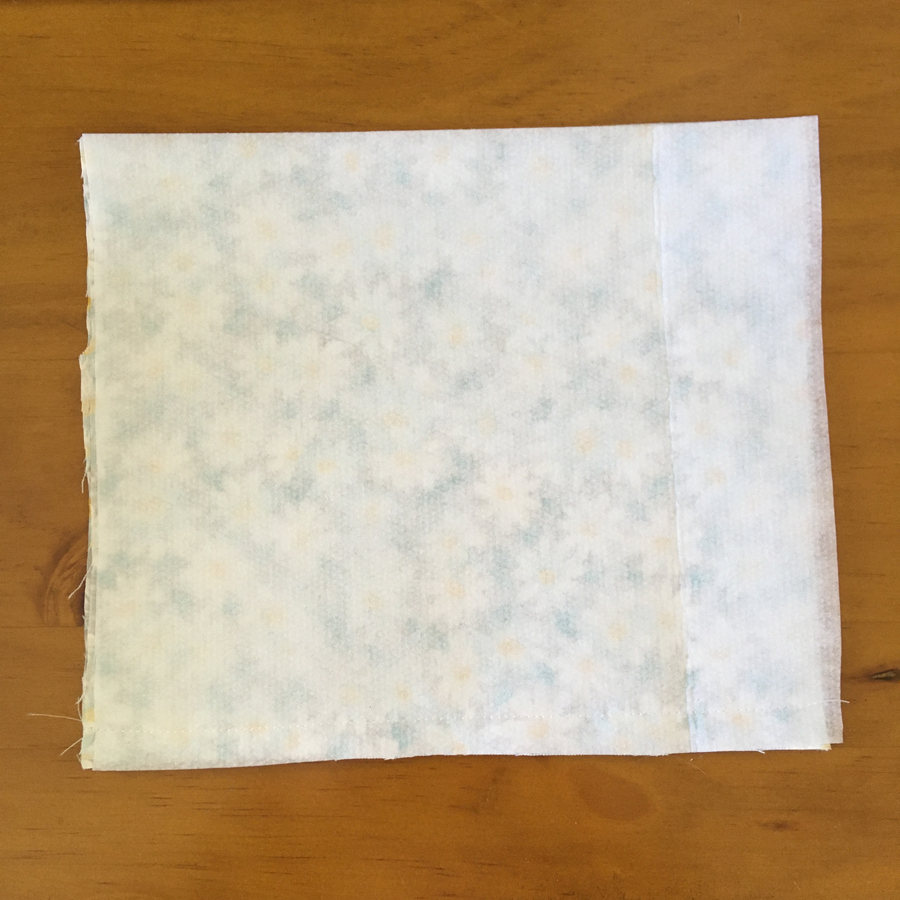
The fabric here is folded in half, wrong side out, with the piece of interfacing positioned on top. I sewed along the bottom edge (the top edge in the picture is the folded cloth).
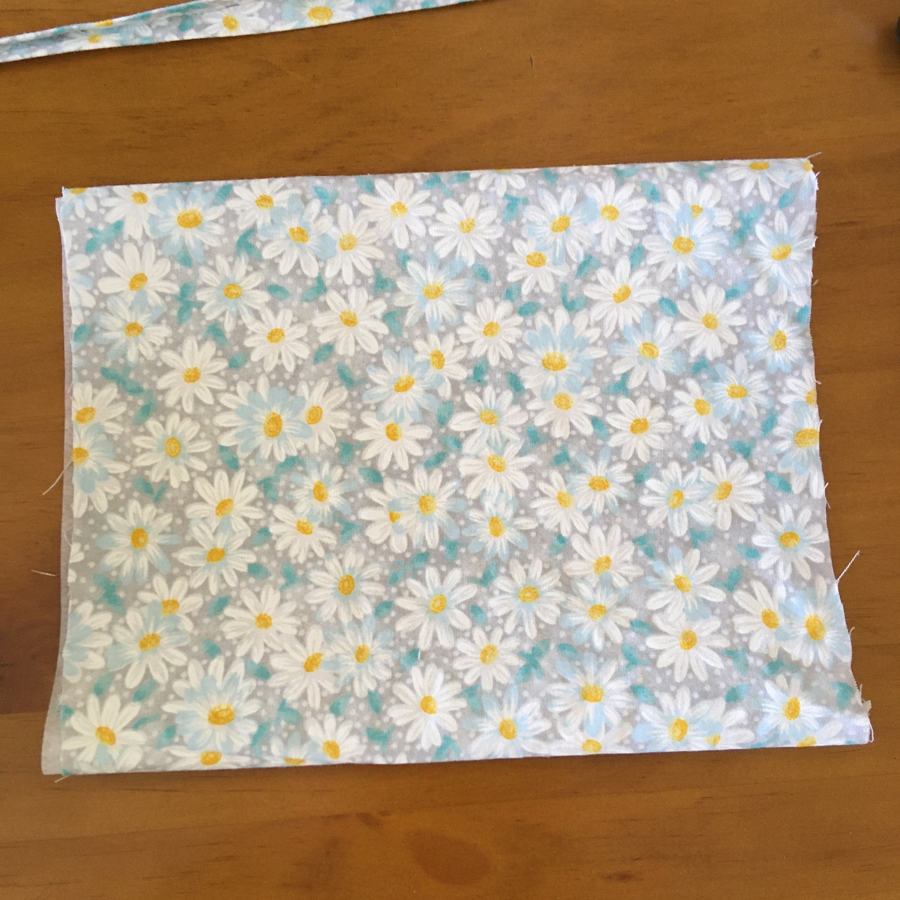
Here it is turned right side out. In the following photos you can see the interfacing inside, and the pic after that shows the pipe cleaner positioned inside, aligned along the top, at the cloth fold line.
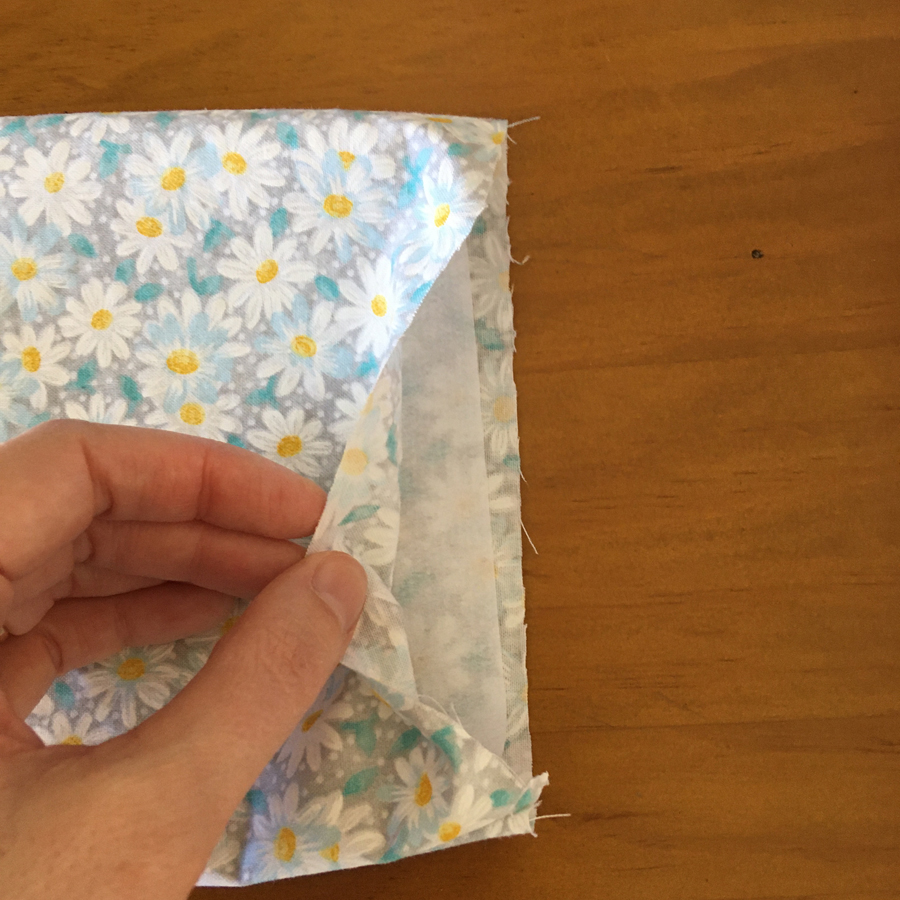
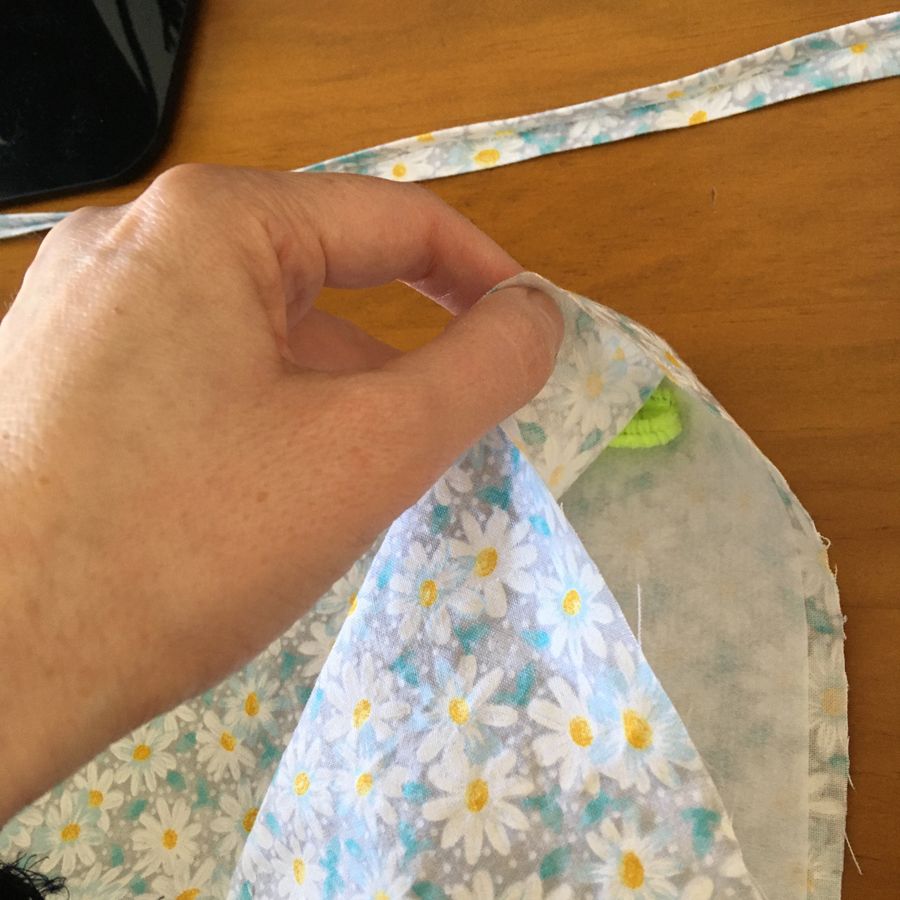
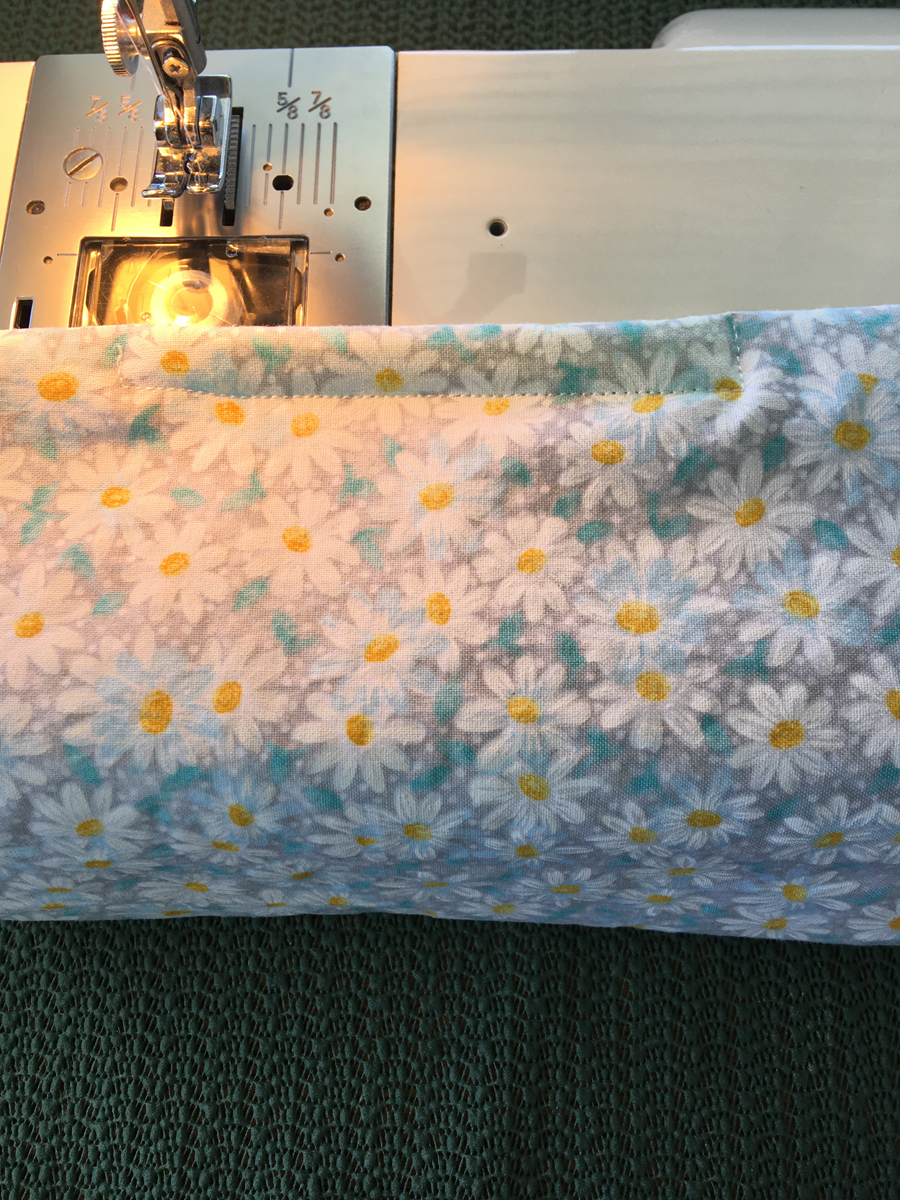
I sewed the pipe cleaner in place so it won’t move. This also anchors the top edge of the interfacing in place so it won’t move, either.
The first picture is the template with the fold marks shown. Place pins where I’ve placed them. Note that the folded edge with the pipe cleaner is still at the top.

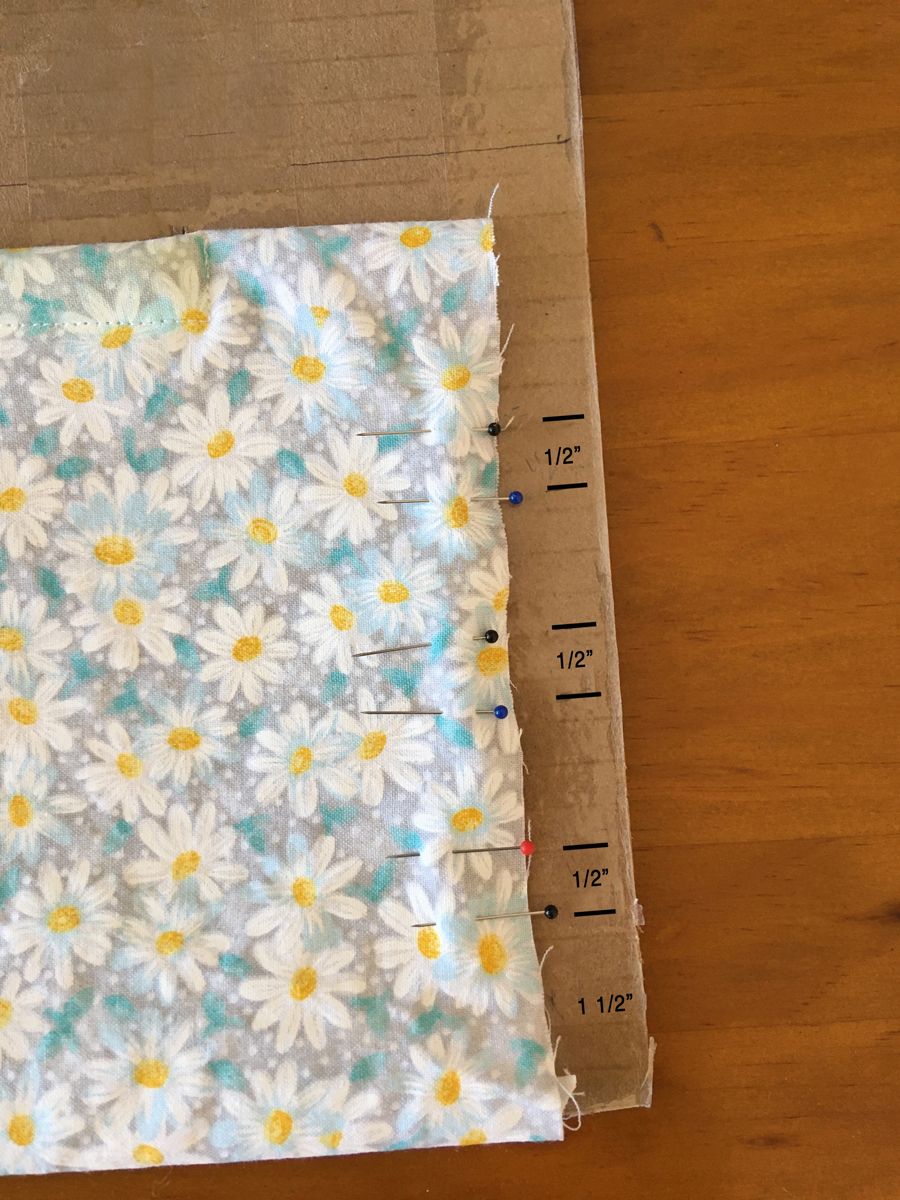
Take the top black pin and fold it down over top of the blue pin. The cloth will fold at the blue pin, also. Do the same for the other folds. It will look like the following images.
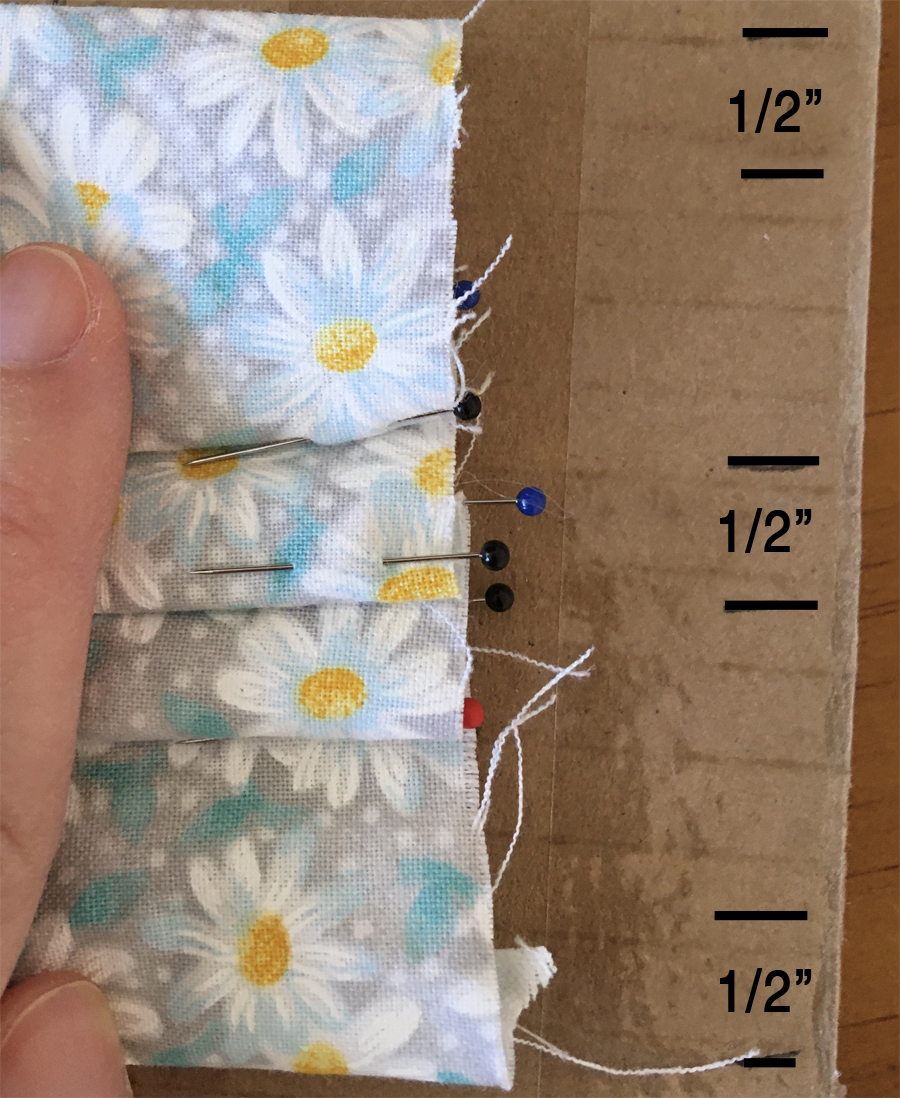
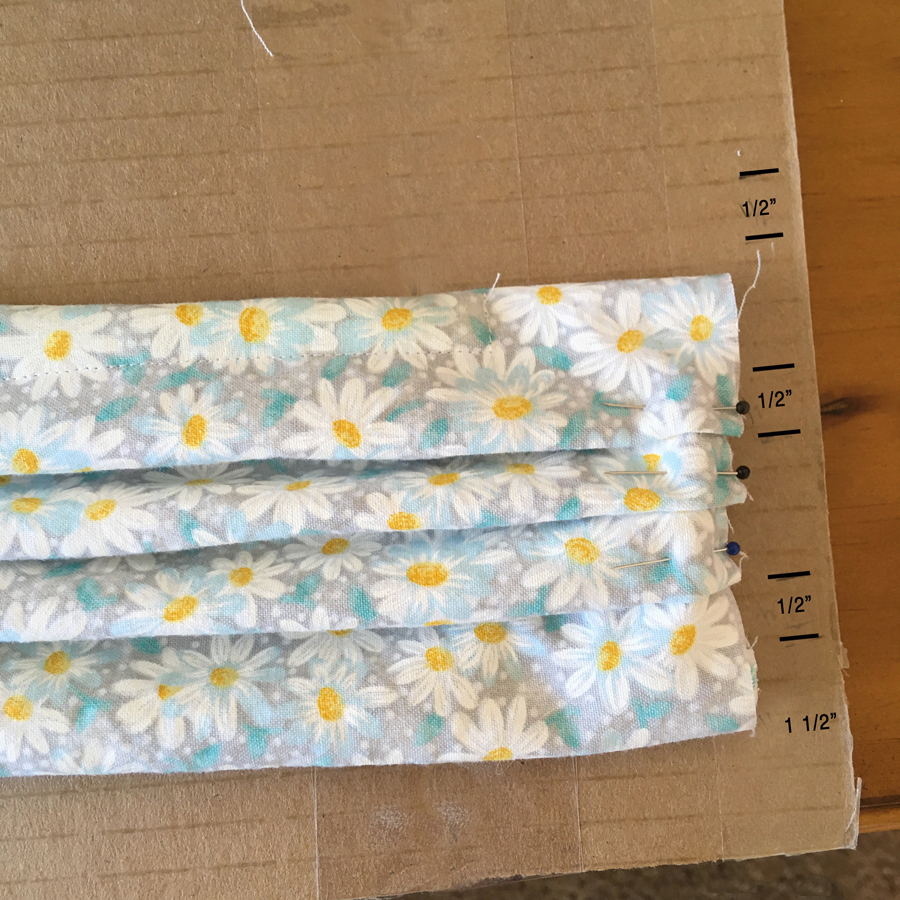
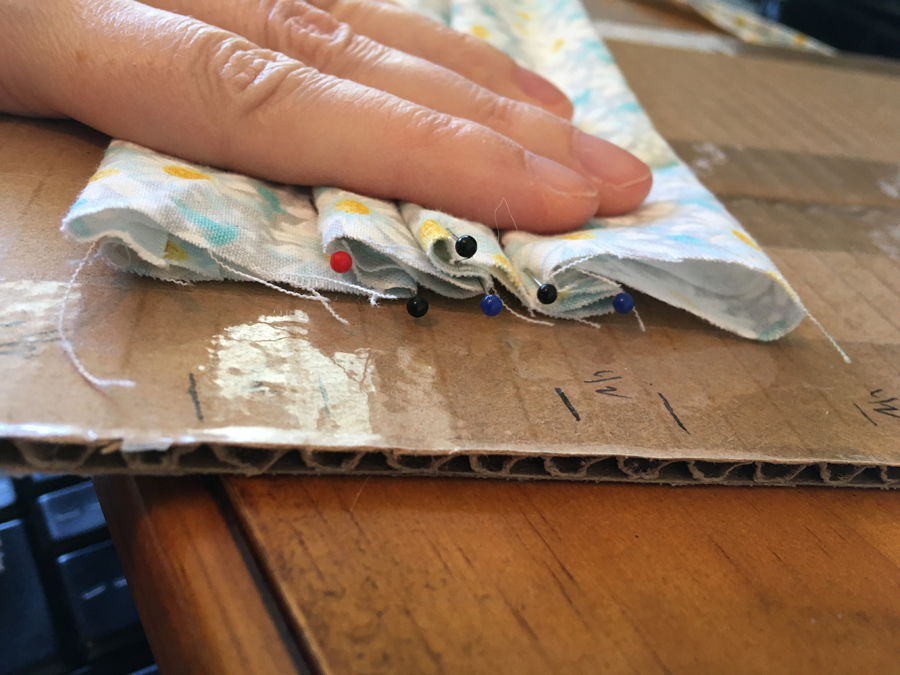
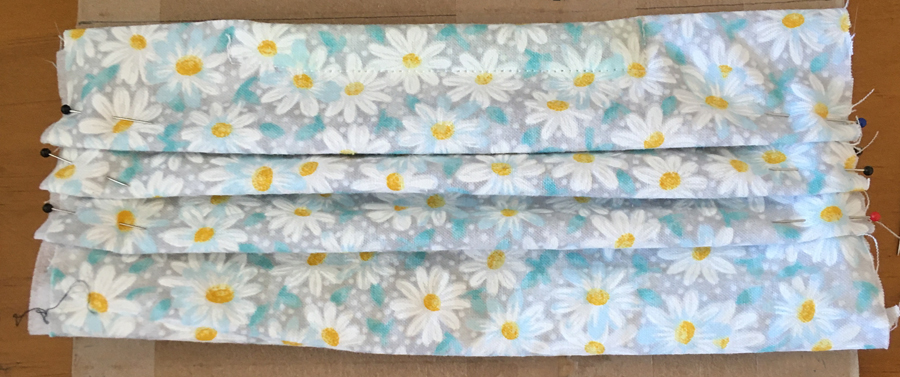
I “eyeballed” it when making later masks, using a finished one like the following to determine where to make the folds. (I folded in the pleats, placed one pin per pleat, and then sewed them.)
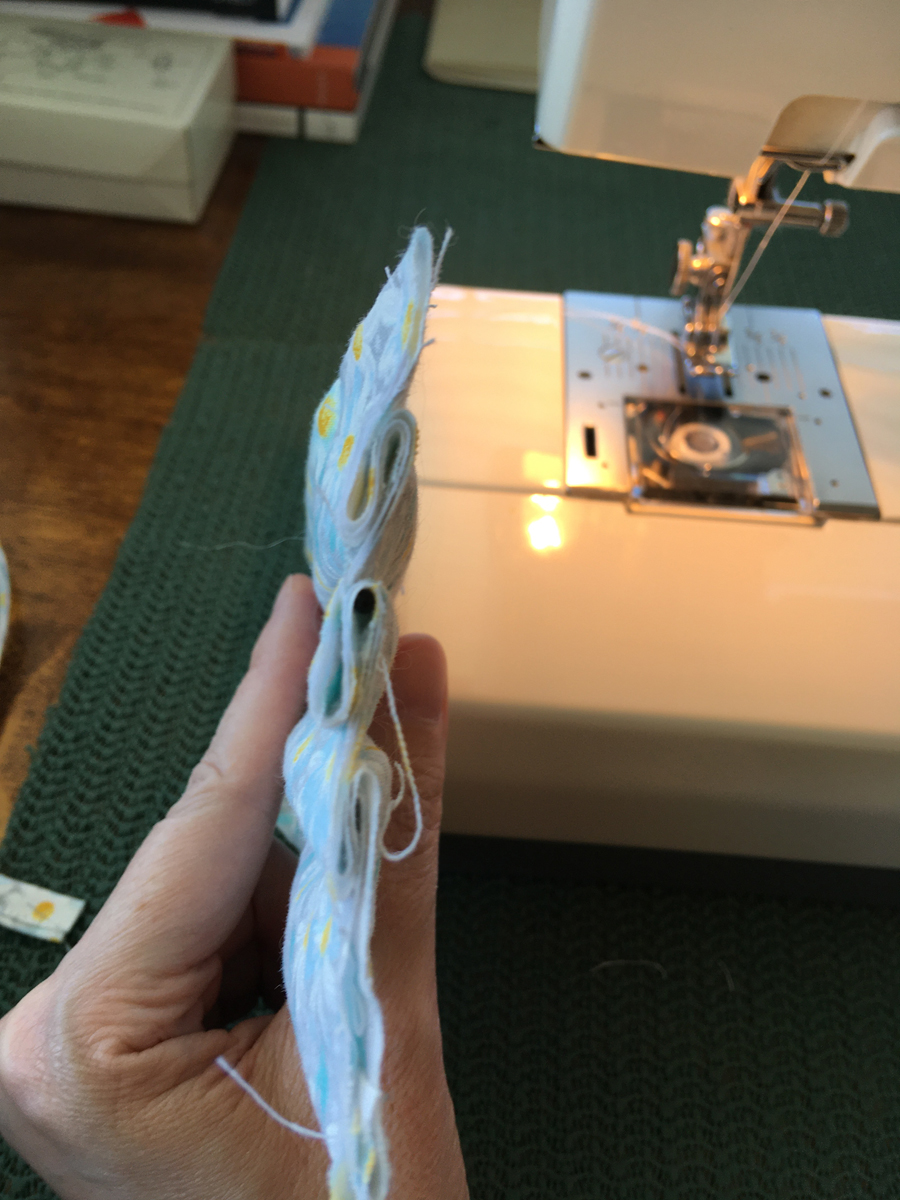
Here I’ve sewn both sides of the mask and removed the pins.
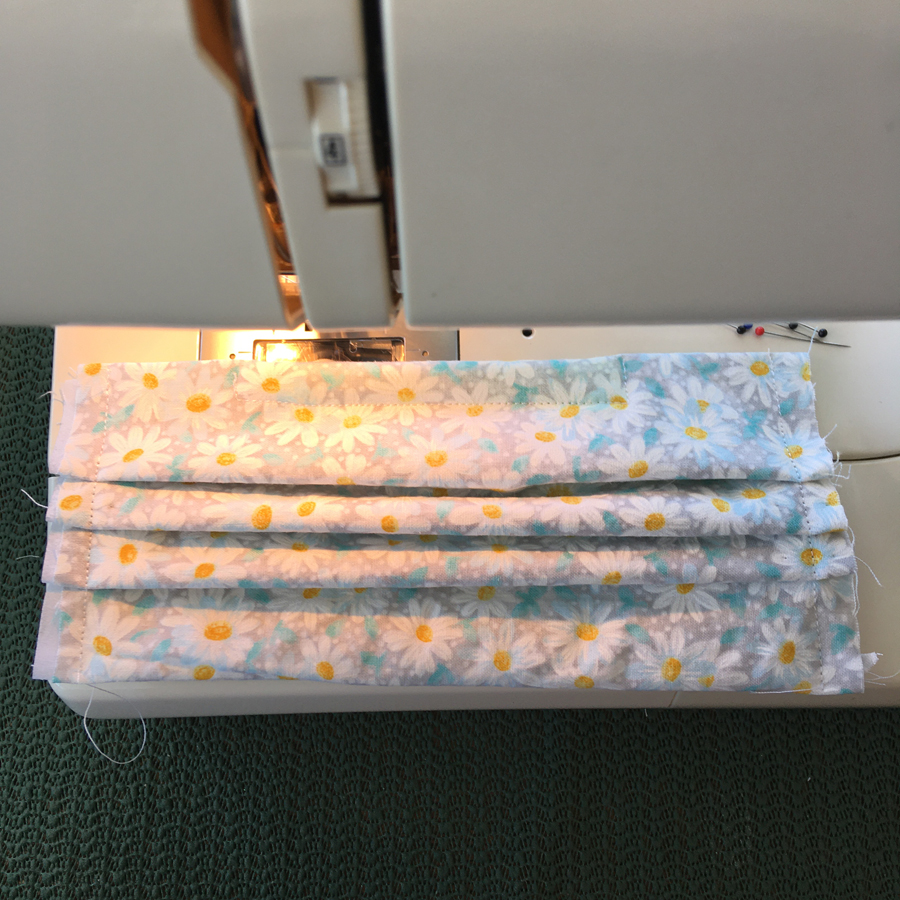
Fold a tie in half, in order to find the center.
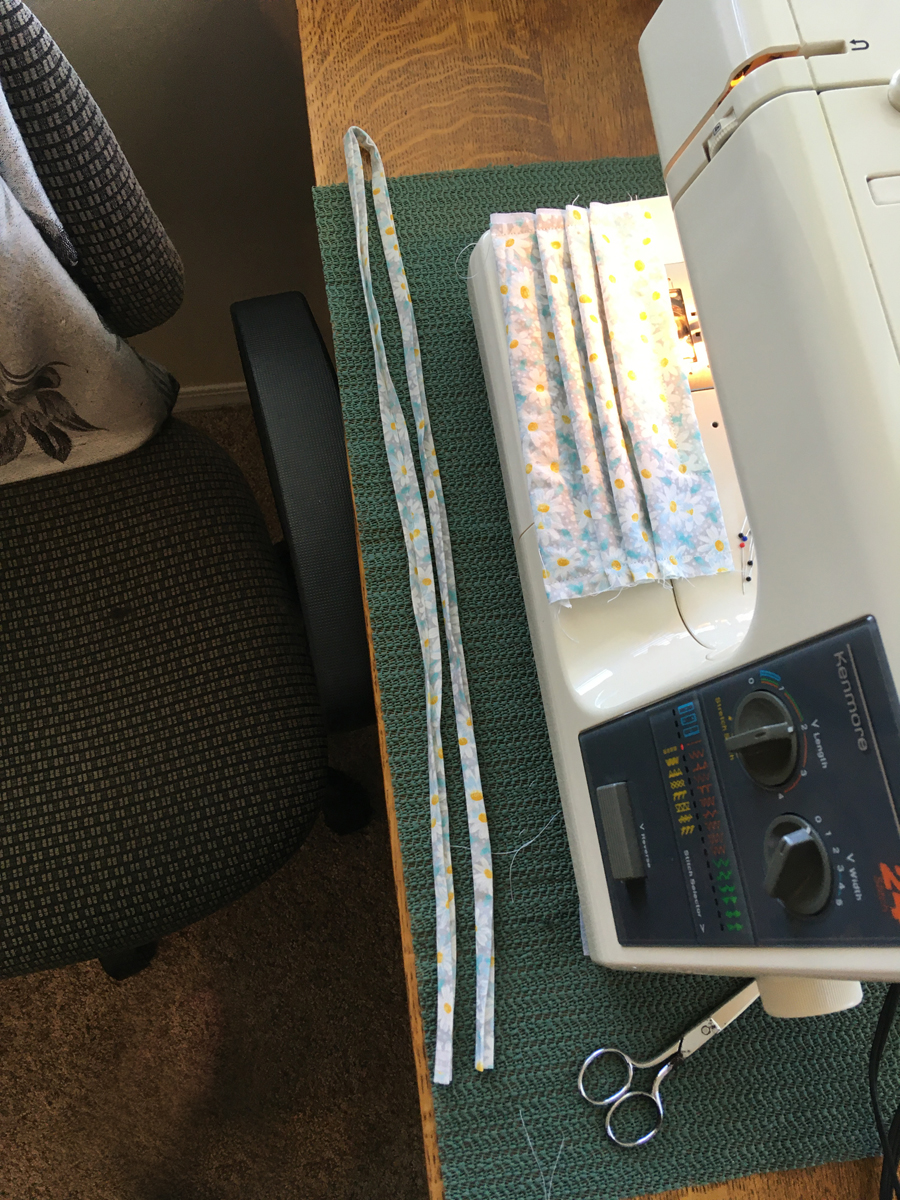
Unfold it, center it on the edge of the mask, and place the right edges of the fabric together (the mask and the tie, as shown), and sew.
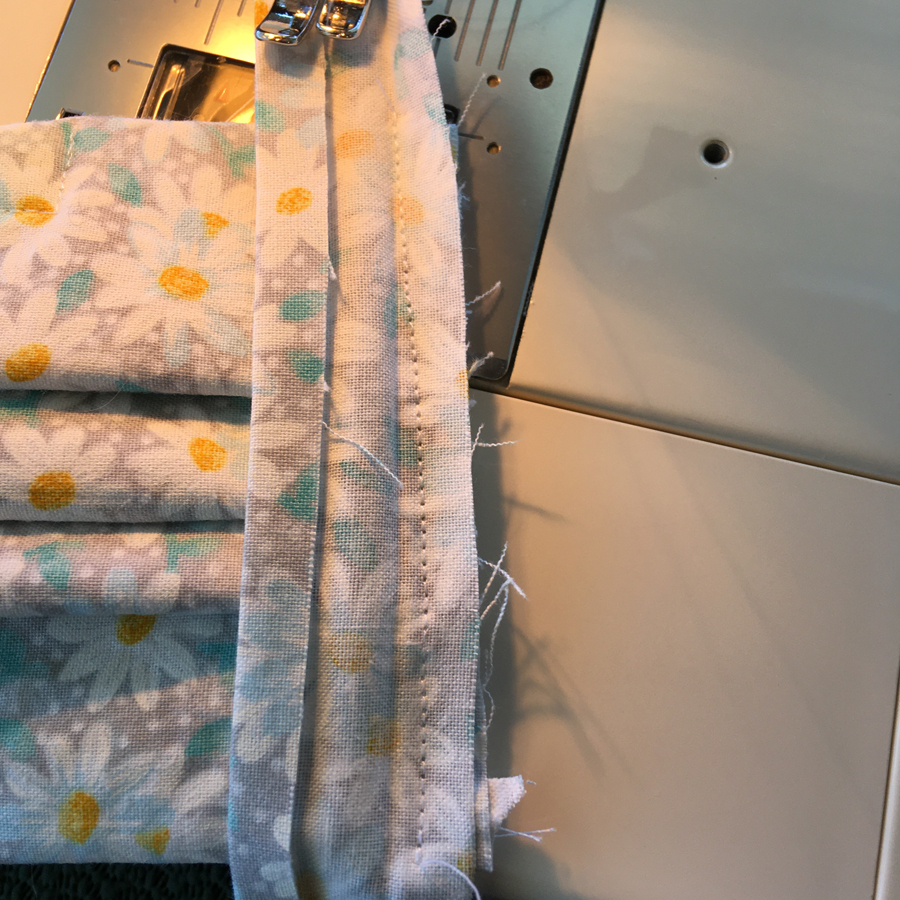
Just a note–I like to backstitch the ends of each seam, just to make them more secure.
Fold the tie over top of the raw edge of the mask, and down on the other side. Pin into place.
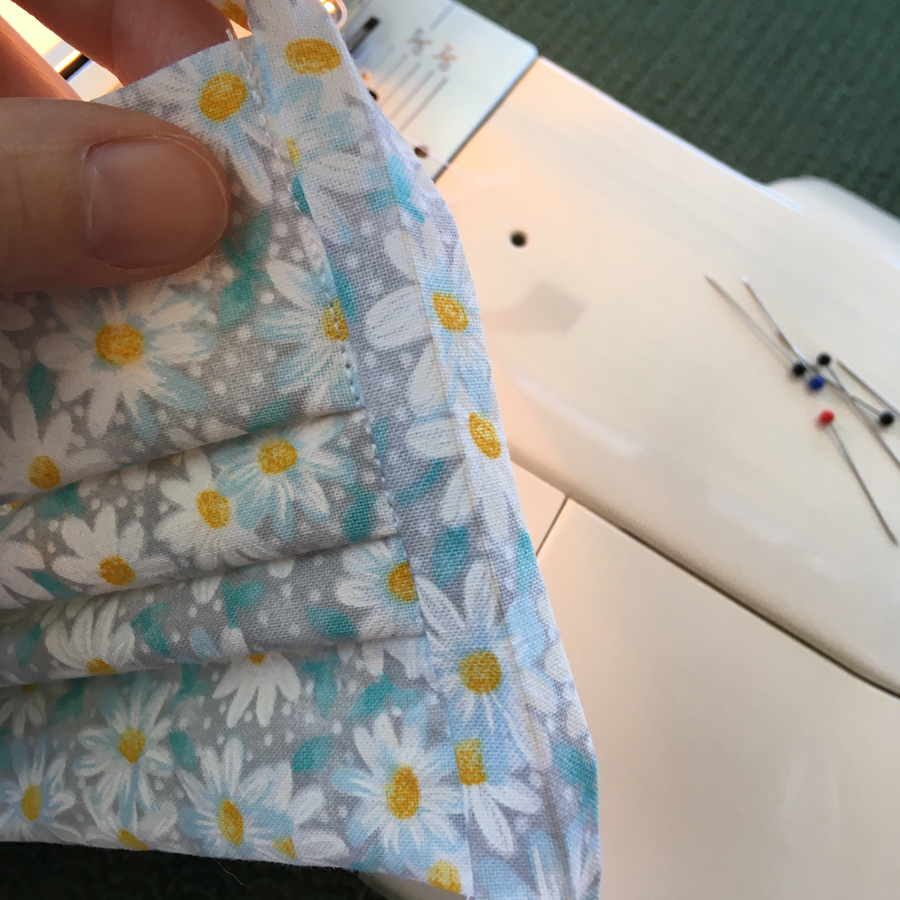
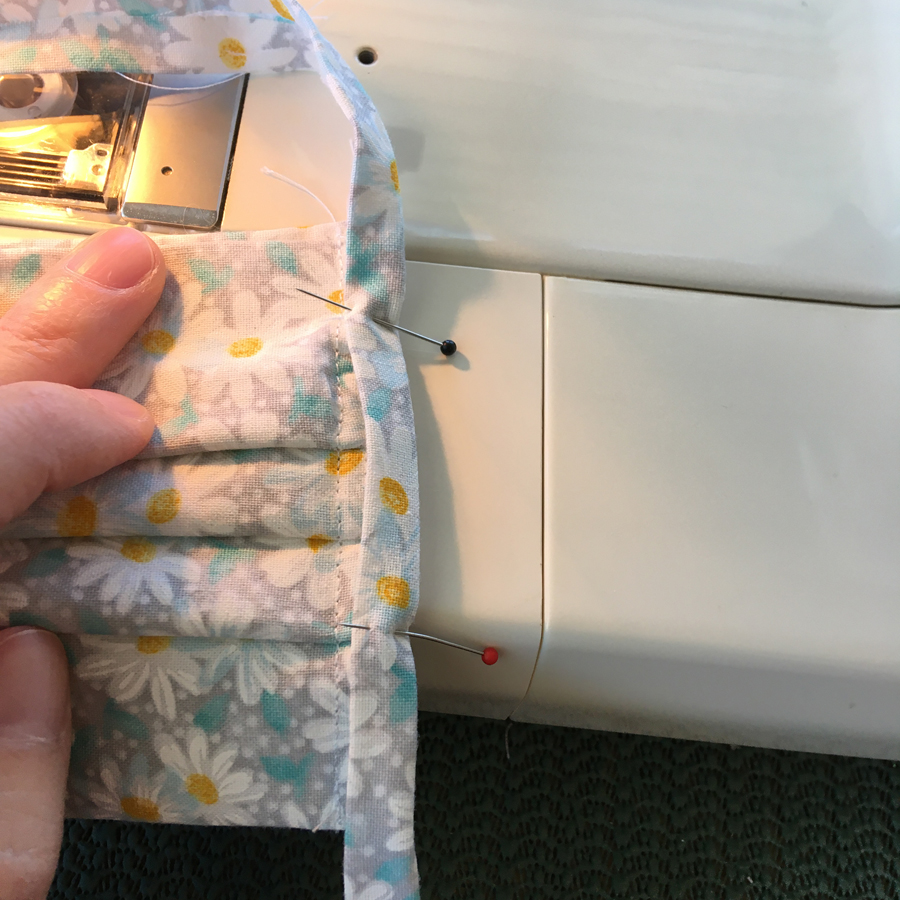
Start at the far end of the tie and sew all the way down to the other end. You’ll sew across the mask on the way down. Definitely back stitch where the tie and mask meet, at each end of the mask, in order to increase the durability of the seam, and reduce the likelihood that frequent use will pull the tie away from the mask.
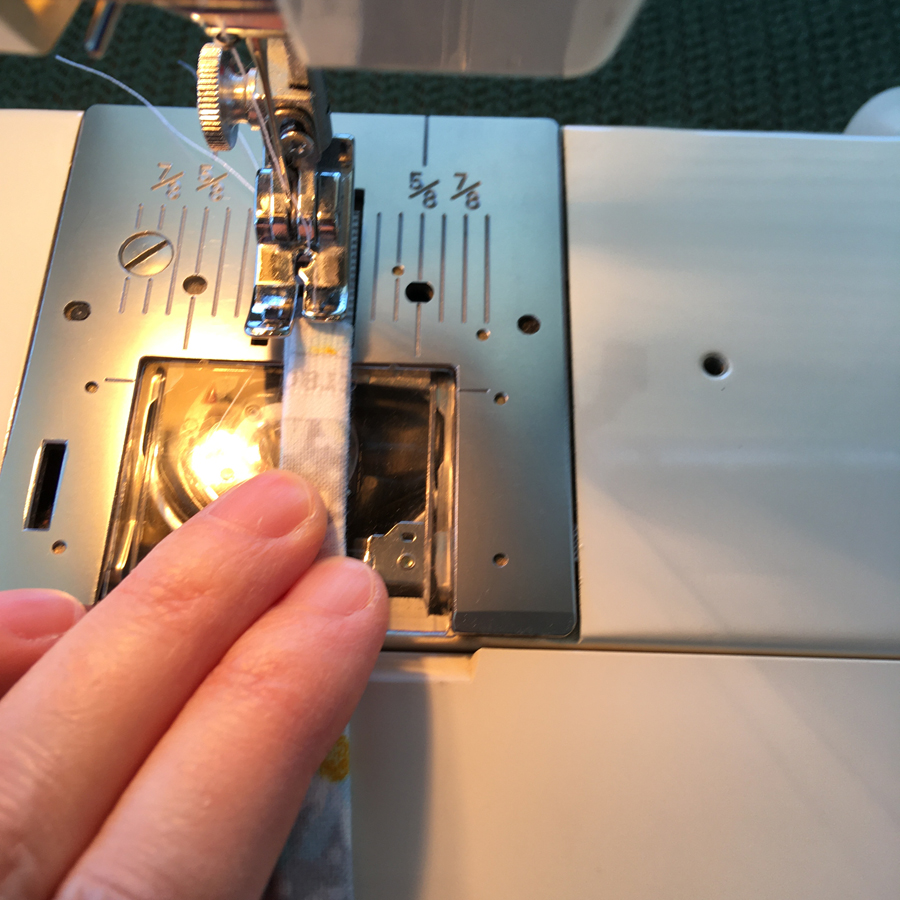
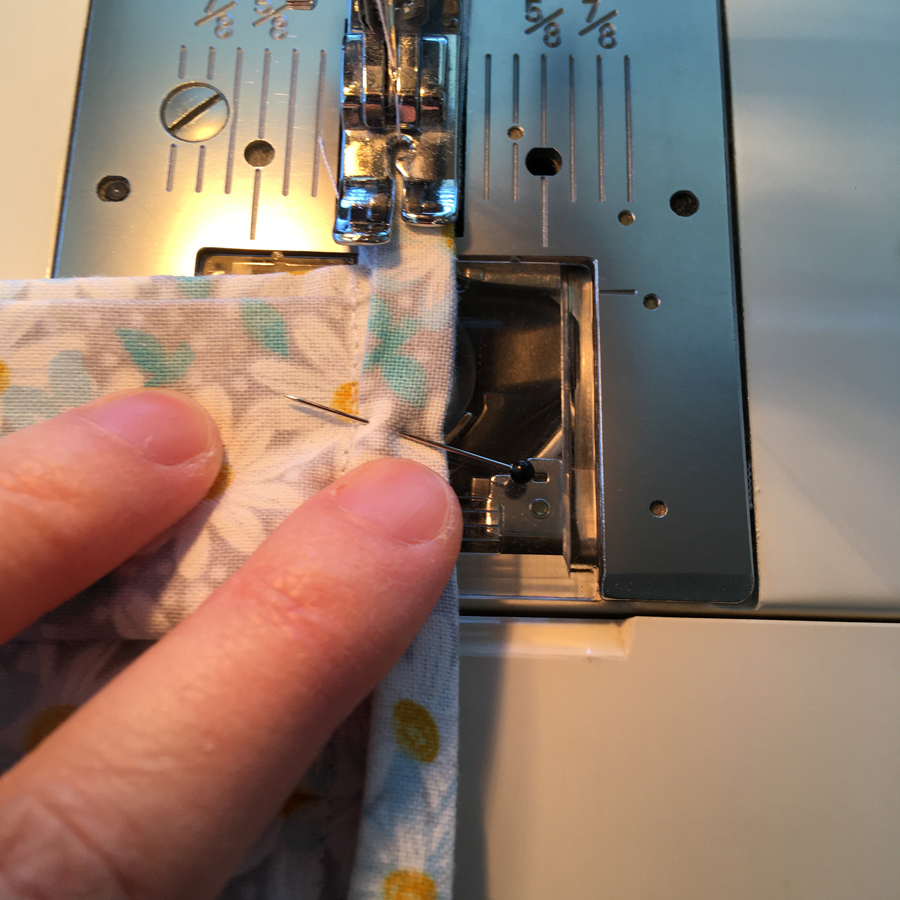
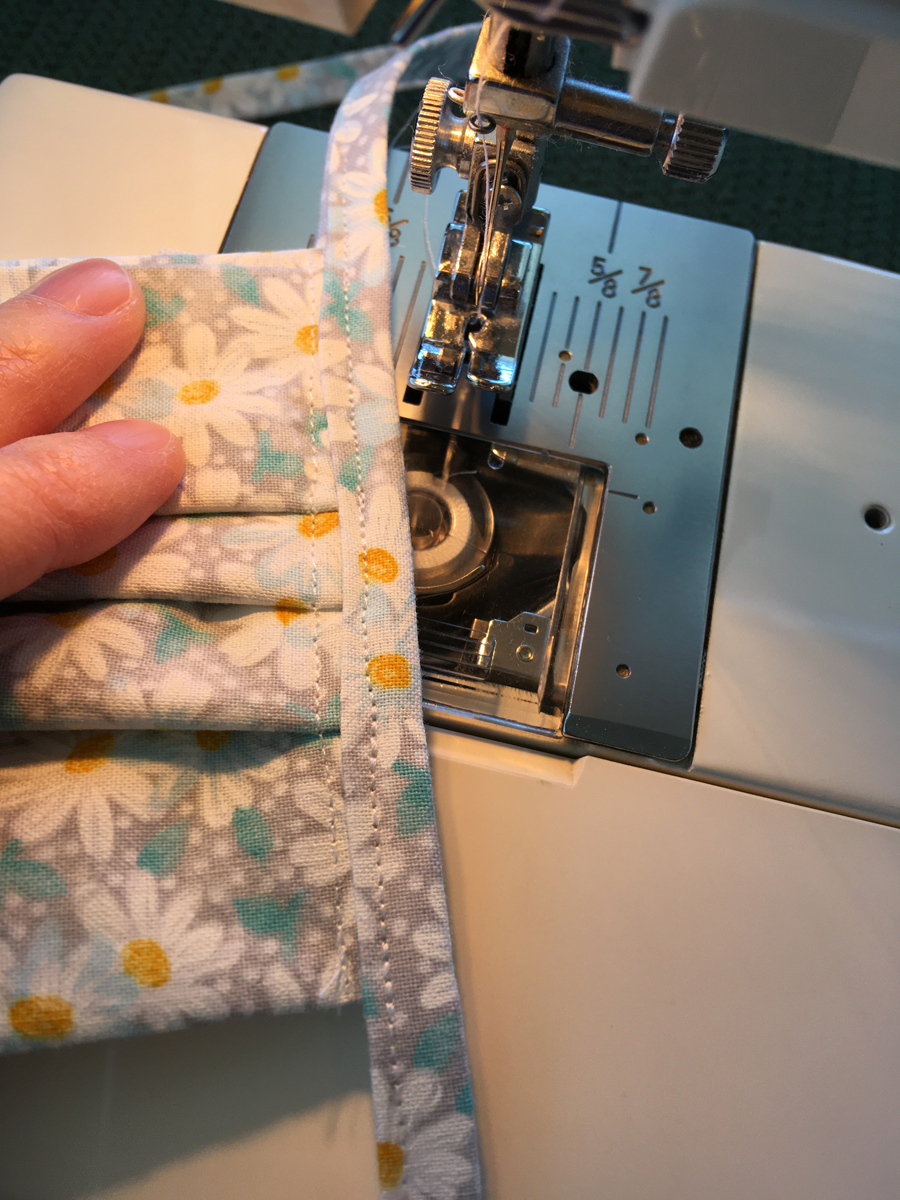
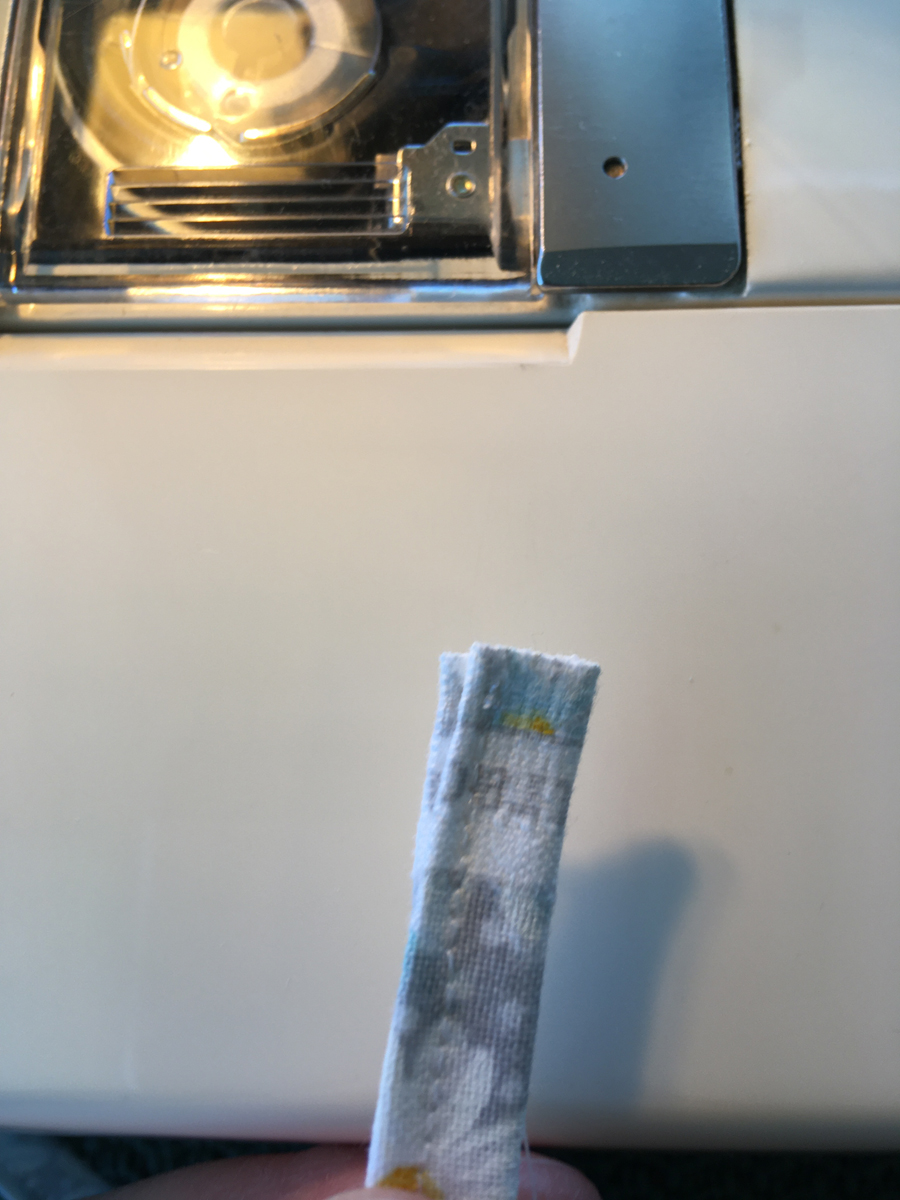
Here’s the selvage edge that is sewn–you can see it doesn’t need to be finished, because there are no frayed ends.
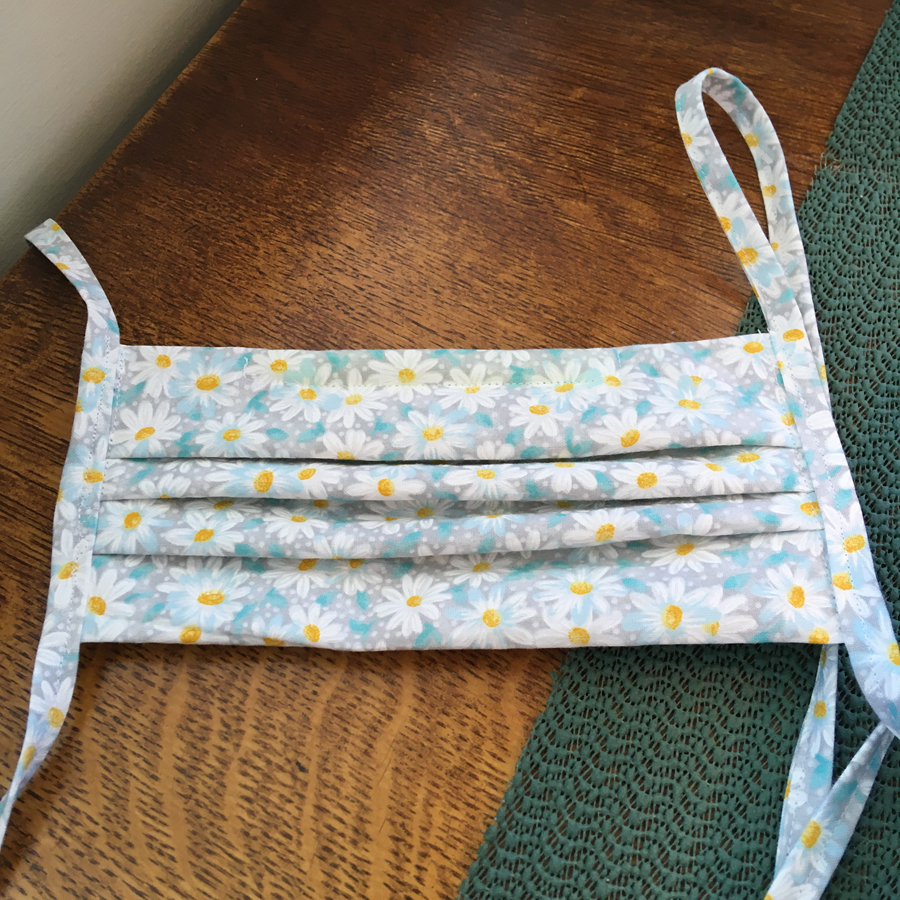
And this is the finished mask! 🙂
I hope you’ve found this helpful. 🙂 Now you can make masks for your community, and your family and friends. With us all working together, we can beat Covid-19!


